The First 7 Settings to Change in CleoSocial
Just downloaded CleoSocial? These seven settings — in this order — take about fifteen minutes and are the difference between a default install and your feed.
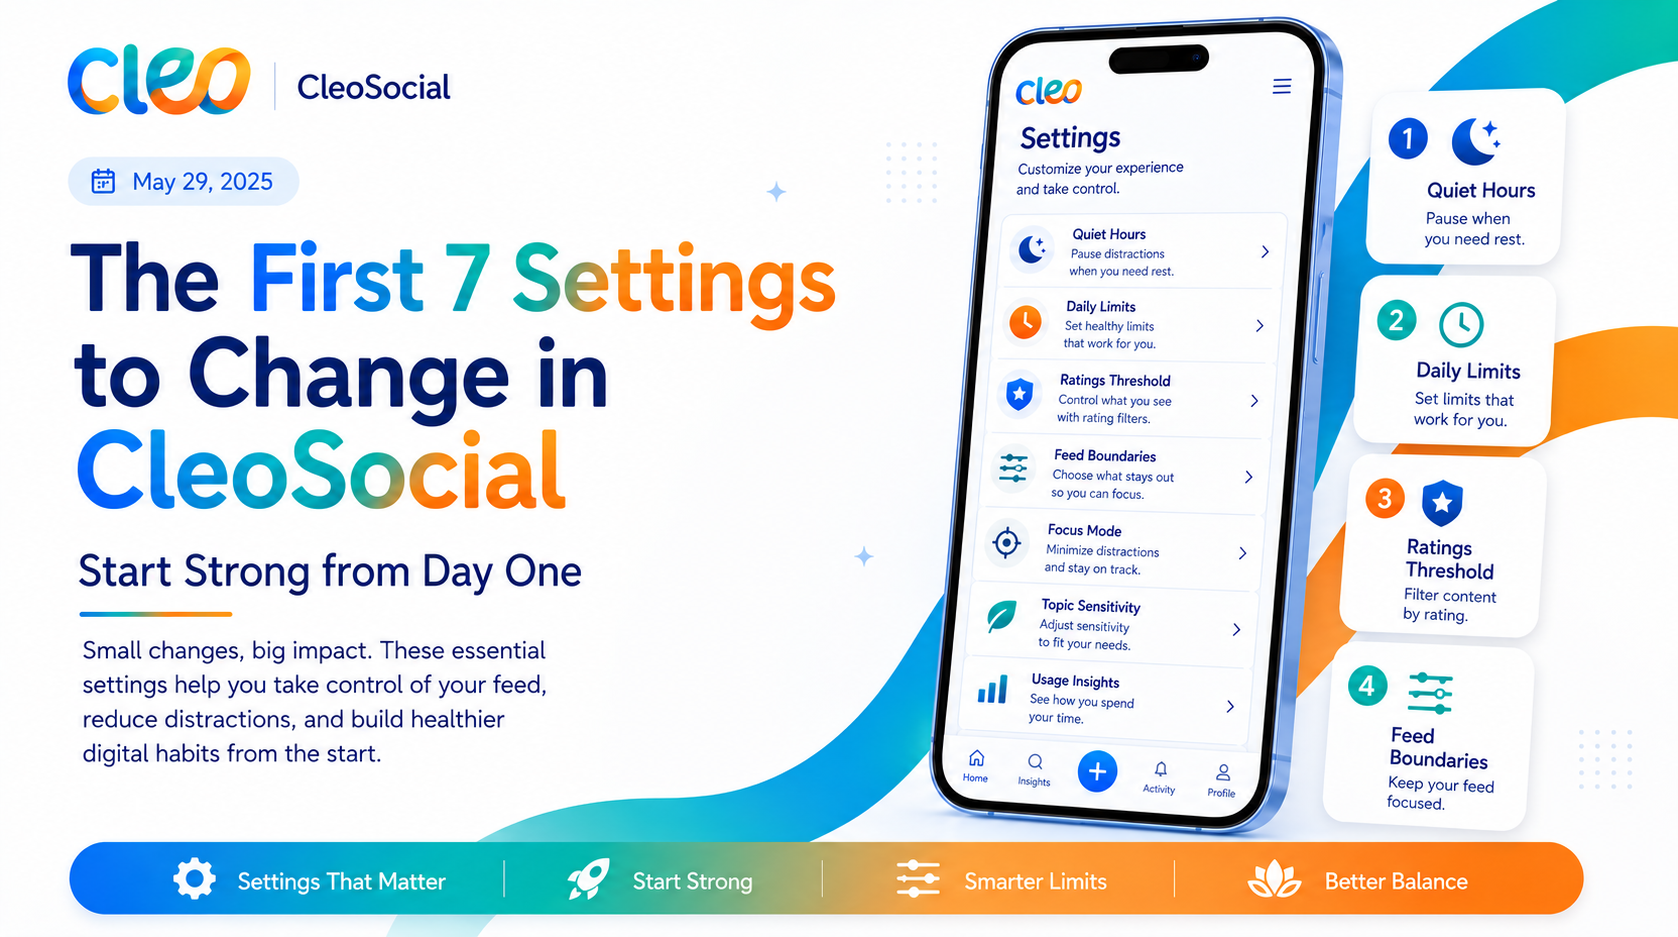
Table of Contents
The First 7 Settings to Change in CleoSocial
CleoSocial's whole premise is that the feed answers to your settings — which means an unconfigured install is the app at its least itself. The defaults are sensible (R-rated content is already filtered out; nothing needs fixing to be usable), but "usable" and "yours" are different things.
These seven settings, in this order, take about fifteen minutes total. The order matters: each one builds on the last, and the first three deliver most of the value if fifteen minutes is more than you have.
1. Set Your Rating Ceiling (2 minutes)
Settings → content rating preferences.
This is the single most important setting in the app. Every post is rated G, PG, PG-13, or R by the app's AI before it can reach any feed; your ceiling is the highest rating you allow in. Out of the box, R is filtered — set the rest deliberately:
- PG-13 is the common starting point: real conversation, real topics, none of the most intense material.
- PG or G for a deliberately calm feed — some people run low ceilings at night or during heavy weeks and raise them later.
- R on if you want everything, as your explicit choice, with every post still carrying its visible rating.
Do not agonize; it is a dial, not a contract. Most people adjust once or twice in the first week and then stop thinking about it. Full mechanics in how the ratings work.
2. Tune Feed Control (5 minutes)
Settings → feed preferences.
The ceiling sets intensity; Feed Control sets subject matter — what you see more and less of across topics and content types. Spend five actual minutes here rather than skimming: this is where you convert years of "I wish my feed had more of X" into a configuration that holds. Unlike the reactive tools you are used to (tap "not interested," hope the algorithm listens), what you set here persists — there is no engagement-ranking system underneath renegotiating your choices.
Starting point: pick three topics you genuinely want more of, and two you want less of. Refine later as real scrolling teaches you.
3. Set One Quiet Hours Window (2 minutes)
Settings → Quiet Hours.
Choose a start and end time; during that window the app goes silent — no notifications, no pull. It never locks you out; it just stops speaking first. Set the window where your time actually disappears (for most people: 9:30 or 10 PM until morning). One window, not three — expand once the first one proves itself. The full Quiet Hours guide covers timing strategies if you want more than the evening default.
If you stop here, you have configured the three systems that define the app: what reaches you, about what, and when. The remaining four settings are refinement.
4. Review Notification Preferences (2 minutes)
Settings → notifications.
Quiet Hours governs when the app may speak; this governs what it may speak about during open hours. Trim to what you actually want interrupting your day. A reasonable baseline: keep direct interactions (replies, messages), cut broadcast-style pings. The test for each toggle: "would I want my phone to light up for this at 2 PM on a workday?"
5. Set Up Your Profile Deliberately (2 minutes)
Name, photo, a line about what you post or care about. This matters more here than on the big platforms: on a growing network, profiles do real work in discovery, and the people finding you chose their feeds deliberately. Thirty seconds of intention beats a blank default.
6. Walk Through Mindful Discovery (2 minutes)
Discovery tab.
Tell it what you are interested in and browse a few results. Two reasons to do this early: it seeds the feed while your follow graph is young, and it demonstrates the app's core promise in action — everything you encounter in discovery carries its rating and respects your ceiling. Exploration without the ambush tax is the experience the app is built around; meet it on day one.
7. Check Your Privacy Settings (1 minute)
Settings → privacy.
Review who can see and interact with your content and confirm the defaults match your intent. CleoSocial's stated posture is no dark patterns and no data-extraction machinery — we have written about how the app approaches ads and attention — but posture is ours and settings are yours; take the minute.
The Fifteen-Minute Version, Compressed
| Order | Setting | Time | What it decides | |---|---|---|---| | 1 | Rating ceiling | 2 min | Maximum intensity of your feed | | 2 | Feed Control | 5 min | What your feed is about | | 3 | Quiet Hours | 2 min | When the app may reach you | | 4 | Notifications | 2 min | What may interrupt your day | | 5 | Profile | 2 min | How you appear in discovery | | 6 | Mindful Discovery | 2 min | Seeds the feed with your interests | | 7 | Privacy review | 1 min | Confirms visibility matches intent |
Three Mistakes People Make in Setup
Setting the ceiling by aspiration instead of preference. Some people pick G because it sounds virtuous, find the feed too quiet by Wednesday, and blame the app. Pick the ceiling that matches what you actually want to see, not the one you would report to a wellness survey. You can always lower it for a season — that is what a dial is for.
Treating Feed Control like a form to complete. Rushing through with one topic selected produces a thin feed and a wrong first impression. The five minutes of genuine input is the highest-leverage time in this entire list; the feed can only be as much yours as you told it to be.
Setting Quiet Hours around an idealized schedule. The window should bracket when your time actually leaks, not when a productivity book says it should. If your losses happen at lunch, protect lunch. A modest window you keep beats an ambitious one you resent.
What You Do Not Need to Configure
Also worth knowing — the list of settings that do not exist here, because the machinery they would manage does not exist either. There is no algorithm-training ritual (no liking twenty posts to "teach" the feed), no ad-personalization matrix to prune, no engagement-streak features to disable, no "time well spent" dashboard guilt-tripping you into settings you did not want. The absence is the point: configuration here is short because the app's behavior is simple — it shows what you asked for, at the intensity you allowed, during the hours you permitted. Fifteen minutes covers it because there is nothing hidden to fight.
If You Are Switching from Another App
One extra step for migrants: after finishing the seven settings, swap home-screen positions so CleoSocial sits where your old scroll app was. Muscle memory is the eighth setting, and it is configured with your thumb. The full two-week migration plan — what to move, what to keep where, how to judge the result — is in our switching guide; it pairs with this list as the "when and why" to this post's "what and how."
After Setup: The One-Week Rule
Configured is not the same as calibrated. Give the setup one week of normal use before judging or re-tweaking. You will probably nudge the ceiling once and adjust a topic or two — that is calibration working, not the setup failing. By day seven the app should feel less like software you configured and more like a feed that happens to match you; that is the state all seven settings exist to produce.
If week one leaves you unsure whether the app fits at all, the honest diagnostic is our who CleoSocial is for (and who should skip it) — it was written for exactly that moment.
New here? Download CleoSocial free from the App Store, run this list top to bottom, and start scrolling a feed that answers to you.
Ready for Social Media That Respects You?
CleoSocial puts you in control. Content ratings, time limits, and real connections. Free to use, always.