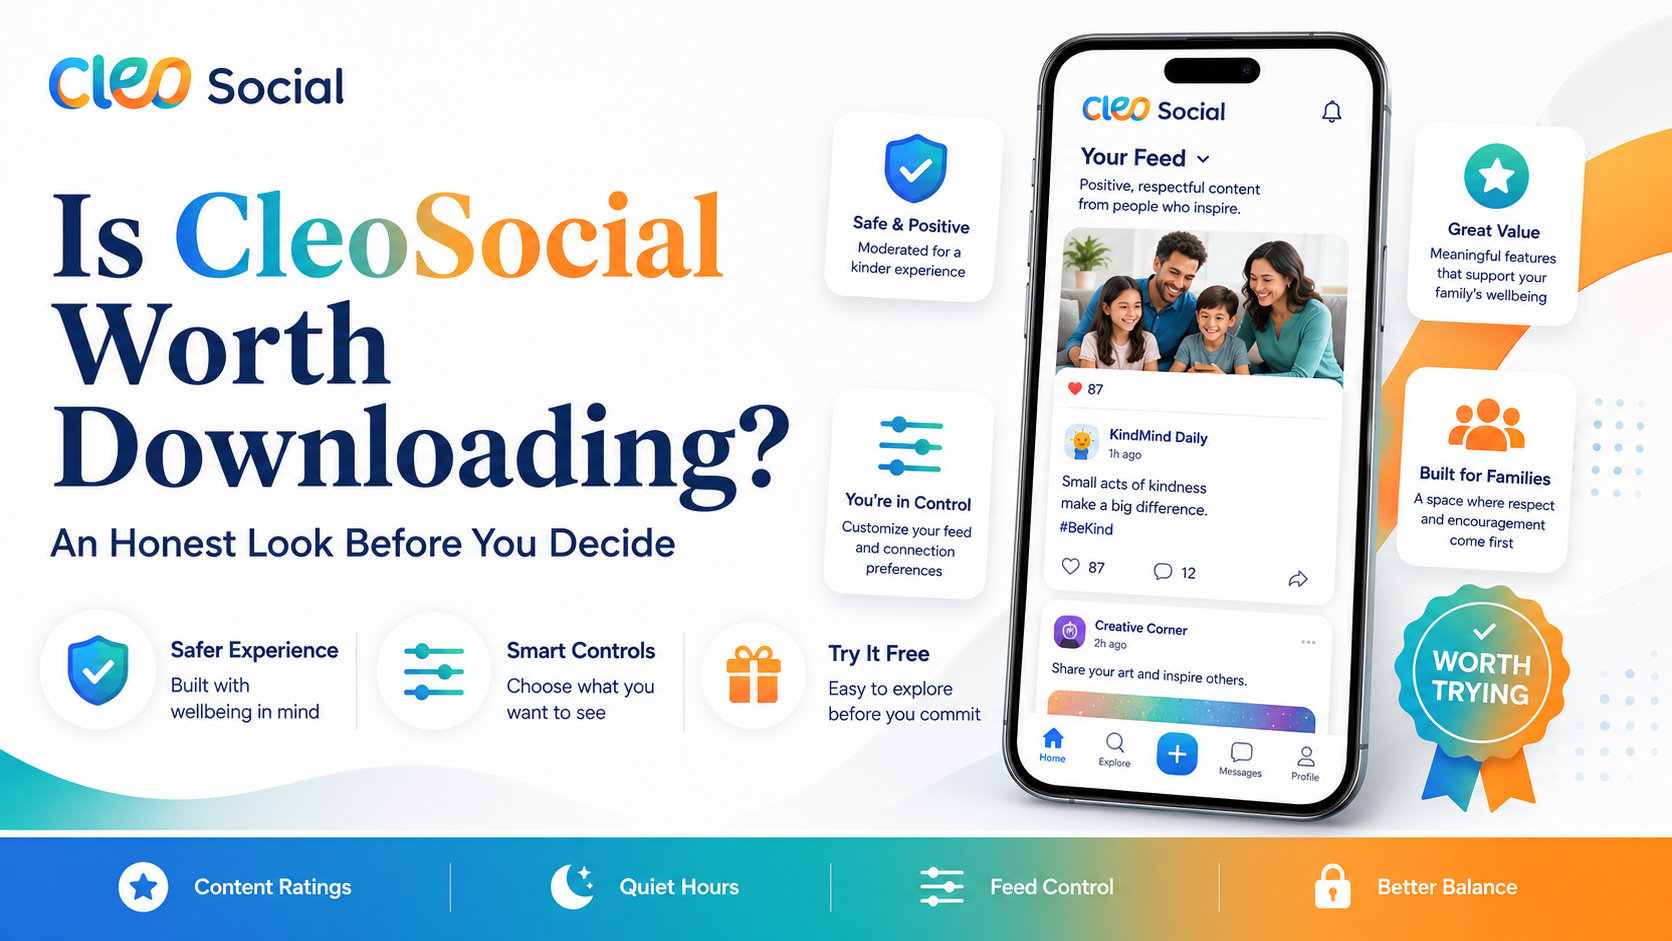
How to Sign Up for CleoSocial: Step by Step
How to sign up for CleoSocial — this guide has every step. If you have decided to try the app, or you are close to deciding, this article walks you through...
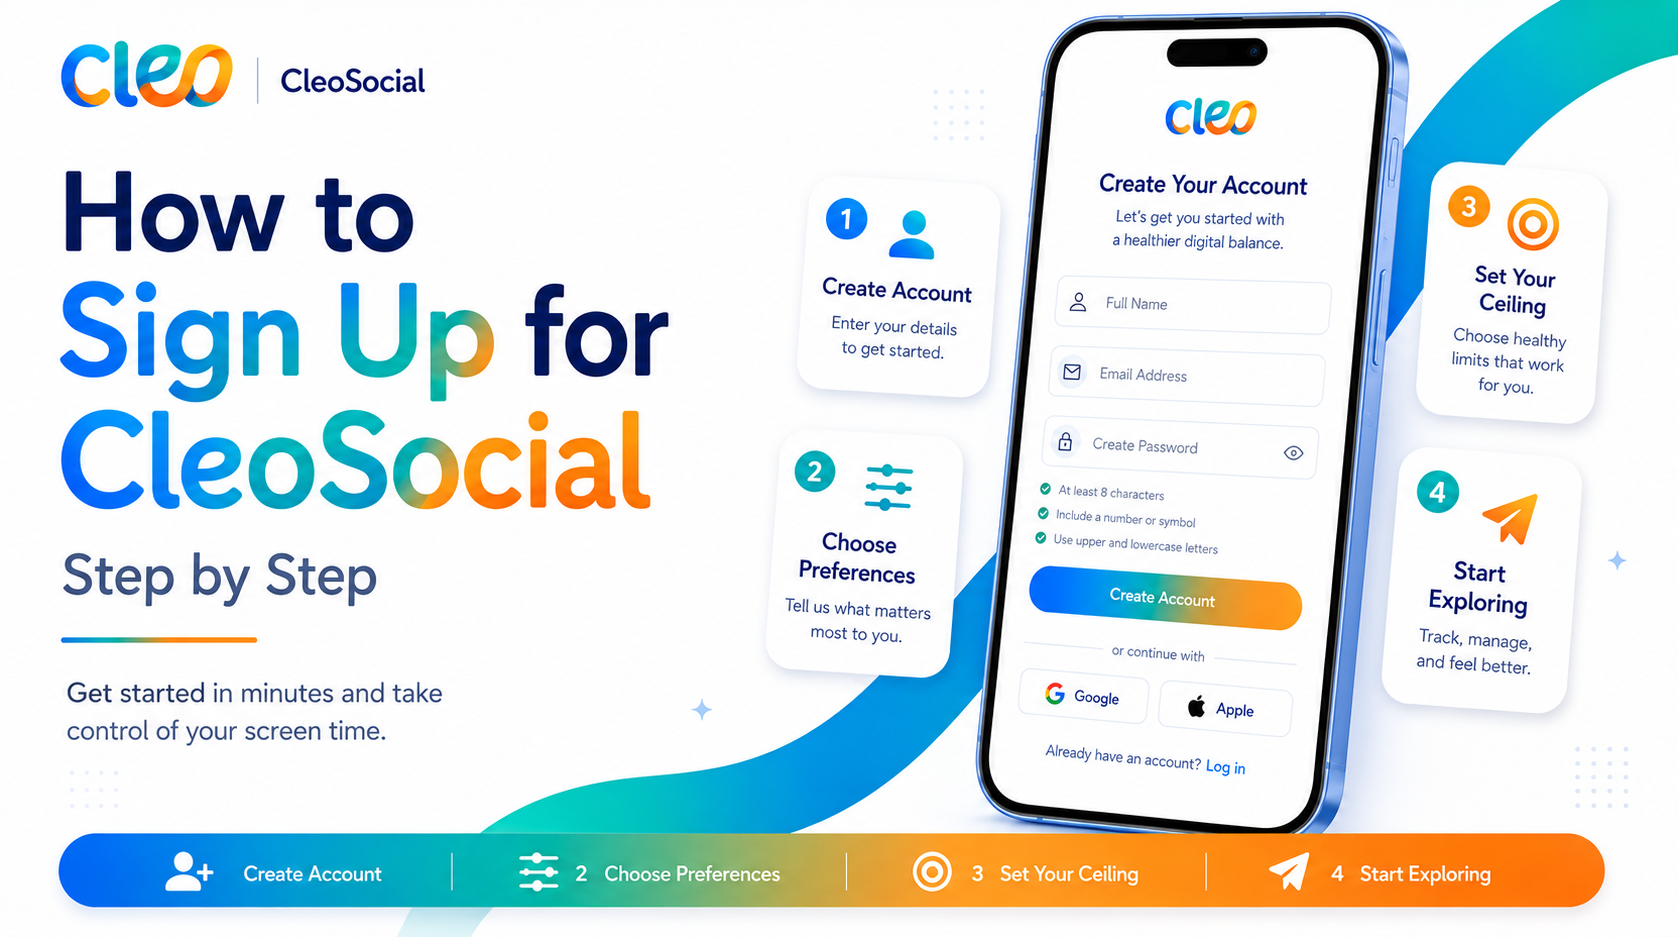
Table of Contents
How to Sign Up for CleoSocial: Step by Step
How to sign up for CleoSocial — this guide has every step. If you have decided to try the app, or you are close to deciding, this article walks you through the full process from the App Store download to your first customized feed.
The whole sign-up takes about five minutes. CleoSocial is free — no credit card required.
Before You Start: What You Need
- An iPhone or other iOS device (CleoSocial is currently available on iOS; check the App Store for the latest)
- An email address
- Five minutes
That is it. No payment information, no subscription, no credit card.
Step 1: Go to the App Store
Open the App Store on your iPhone. It is the blue icon with a white letter A. If you have never used it before, it is on your home screen or in your App Library.
Tap the Search tab at the bottom of the screen.
Step 2: Search for CleoSocial
Type "CleoSocial" in the search bar at the top and tap Search.
Look for the CleoSocial app in the results. The listing includes the app name, CleoSocial, and features the app's mascot and AI guardian, Cam.
You can also visit cleosocial.app on your phone's browser and follow the App Store link directly from there.
Step 3: Download the App
Tap Get next to the CleoSocial app listing.
If prompted, confirm with Face ID, Touch ID, or your Apple ID password. This is how Apple verifies your identity before downloading any app — even free ones.
The download will take a moment. When the button changes from "Get" to "Open," the app is installed.
CleoSocial is free. You will not be charged.
Step 4: Open CleoSocial and Create Your Account
Tap Open (or find CleoSocial on your home screen and tap it).
The app will walk you through account creation. Here is what to expect:
- Enter your email address. Use an email you check regularly — you will use it to log in.
- Create a password. Choose something secure that you will remember.
- Verify your email. CleoSocial may send a confirmation email. Check your inbox, tap the link, and you are verified.
Account creation is done. No credit card, no billing information, no subscription to manage.
Step 5: Set Your Content Rating Level
This is the most important setup step. CleoSocial's AI guardian, Cam, rates every post G, PG, PG-13, or R. You choose the highest rating that can appear in your feed.
The app will guide you through this during setup, or you can find it in Settings after signing in.
Choose your level:
- G — the most filtered. Good for a very calm feed or for setting up an account for a child.
- PG — balanced. A good starting point for most adults who want filtering without heavy restrictions.
- PG-13 — more variety while still filtering the most intense content.
R-rated content is automatically filtered regardless of your setting. You do not need to take any action to block R-rated posts — that is the default.
Tip: Start with G or PG. You can adjust upward any time if your feed feels too limited.
Step 6: Set Quiet Hours
Quiet Hours tells CleoSocial when to go silent. No notifications, no pull to scroll during the times you set.
To set it up:
- Go to Settings.
- Find Quiet Hours.
- Set a start and end time.
Good first choices:
- Bedtime protection: 9 PM to 7 AM
- Focus time: Block your core work hours
- Evening: 8 PM to 8 AM if you want to fully unplug at night
Save your settings. Quiet Hours will activate every day at the times you choose.
Step 7: Adjust Feed Control
Feed Control lets you choose the types of content you want to see. Go to Settings → Feed Control and select your preferred content categories.
This is how you shape your feed beyond just the rating level. If certain topics tend to pull you into a scroll spiral, reduce or remove them here.
Step 8: Explore the App
You are set up. Here is what to explore first:
- Your feed — scroll through to see how the content rating system and Feed Control shape what appears.
- Mindful Discovery — browse for new content you actually want, driven by your preferences rather than an algorithm.
- Settings — revisit any time to fine-tune your content level, Quiet Hours, or Feed Control.
You Are Signed Up
Here is the full process in one list:
- App Store → search "CleoSocial" → tap Get (free)
- Open app → enter email + password → verify email
- Settings → choose content rating (G, PG, or PG-13)
- Settings → Quiet Hours → set your quiet window
- Settings → Feed Control → choose content categories
- Done
Five minutes, and your feed is ready.
Is CleoSocial Really Free to Sign Up?
Yes. There is no charge to download, sign up, or use the app. All the features described above — AI content ratings, Quiet Hours, Feed Control, Mindful Discovery — are included at no cost.
What Happens After You Sign Up?
Your feed will be filtered to the level you set from the start. You will not need to manually block or mute posts to avoid mature content — the AI handles it in the background.
Over the next few days, spend some time with your feed. If it feels too restricted, adjust your rating level upward. If you still see content that does not fit, check your Feed Control settings.
Visit cleosocial.app for any updates to features or settings that may have been added since this article was written.
How to Sign Up for CleoSocial: You Are Ready
Signing up for CleoSocial is simple, free, and takes five minutes. The app gives you more control over your social media feed than most platforms do — through AI content ratings, Quiet Hours, and Feed Control — and it is built without the dark patterns that make most social apps hard to put down.
Download CleoSocial free from the App Store now, or visit cleosocial.app to learn more first.
After You Sign Up: First Steps
You are signed in. Now what? Here are the first things to do after creating your account.
Set your content rating level right away. This is the most important step. Go to Settings and find the content rating section. Choose G for the most filtered experience. Choose PG for a slightly broader feed. Choose PG-13 if you want more variety while still blocking the most intense content. R is blocked by default and most users leave it that way.
Set Quiet Hours next. Go to Settings and find the Quiet Hours section. Set a start and end time. A good starting window is nine PM to seven AM. This covers the late-night hours when most unplanned scrolling happens. You can adjust this after a few days.
Set Feed Control. This is in Settings under Feed Control or Feed Preferences. Choose the content categories you want to see. Start with a few categories you genuinely enjoy. You can add more later.
These three steps take about five minutes total. After that, your feed is shaped by your choices.
Building Your Feed Over the First Week
In the first few days, your feed will be smaller than what you are used to on other platforms. That is fine. You are starting fresh with content that passed your chosen rating level.
Use the Mindful Discovery section to find accounts and content categories you want to follow. This section shows you options based on your preferences. Add the ones that interest you.
After a week, your feed should feel like it reflects what you actually want to see. If it still feels too empty, adjust your settings. Raise the content level or add more categories in Feed Control.
Common Mistakes to Avoid During Setup
Setting the level too high right away. If you choose PG-13 when you want a calm feed, you may still see content that upsets you. Start lower and raise the level if needed.
Skipping Quiet Hours. Many people skip this step and then wonder why they are still picking up their phone at midnight. Quiet Hours is one of the most effective features. Set it up during your first session.
Not exploring Feed Control. The content rating level controls intensity. Feed Control controls topic categories. Both matter. Using only the rating level leaves half of the filter system unused.
Expecting the feed to feel complete immediately. A new account on any social platform starts without a personalized feed. Give it a week of following accounts and adjusting settings before you judge how well it works.
If You Have Trouble Signing Up
Did not receive verification email. Check your spam folder. If it is not there, try sending it again from the app. Make sure the email address you entered was correct.
Password not accepted. Most apps require a password with a minimum length and a mix of characters. Try a longer password with letters, numbers, and a special character.
App will not open after install. Restart your iPhone and try again. If the app still does not open, delete it and reinstall from the App Store.
Content level is not saving. Make sure you tap Save or confirm your selection before leaving the settings screen.
If you have a persistent issue, check the help section at cleosocial.app or use the contact options listed there.
How to Sign Up for CleoSocial: Final Recap
Download from the App Store — it is free. Create your account with email and password. Set your content rating. Set Quiet Hours. Adjust Feed Control. Explore Mindful Discovery. Your feed is ready.
The whole process takes less than ten minutes. From that point forward, every post in your feed has been rated by AI and filtered to the level you chose.
Visit cleosocial.app if you want to read more before you start, or go straight to the App Store and search for CleoSocial.
Ready for Social Media That Respects You?
CleoSocial puts you in control. Content ratings, time limits, and real connections. Free to use, always.

Continue Reading
How to Set Up CleoSocial Feed Filters: A Step-by-Step Guide
June 9, 2026
How to Download CleoSocial and Set Up Quiet Hours: A Simple Guide
May 28, 2026